I didn't want to over do the terrain as i have very little storage space at the moment, so i would build what i needed for the scenario. In the first battle of the project. Combat in the hills. I used the old school system of books covered in a grey cloth, with the narrow tracks defined by small stones and sand, this worked, well if a bit messy.

The narrow tracks and hills in game 1
The open area of the battle field for game 1 I made from scratch, using polystyrene sheets glued to cardboard for strength with a central road and walls plus two roads branching off like a cross roads. The idea is this can be used in future battles in the project.
A quick guide to the building system i used for the terrain

stage 1 work out were you want your roads use PVA glue and course sand when dry paint your dark tone base colour over the roads

stage 2 paint the rest of the board and the roads, dry brush the roads in the medium tone base colour when dry use PVA glue and fine sand to cover the areas you have just painted, but not the roads.

stage 3 use your light colour base tone and highlight exposed areas and roads

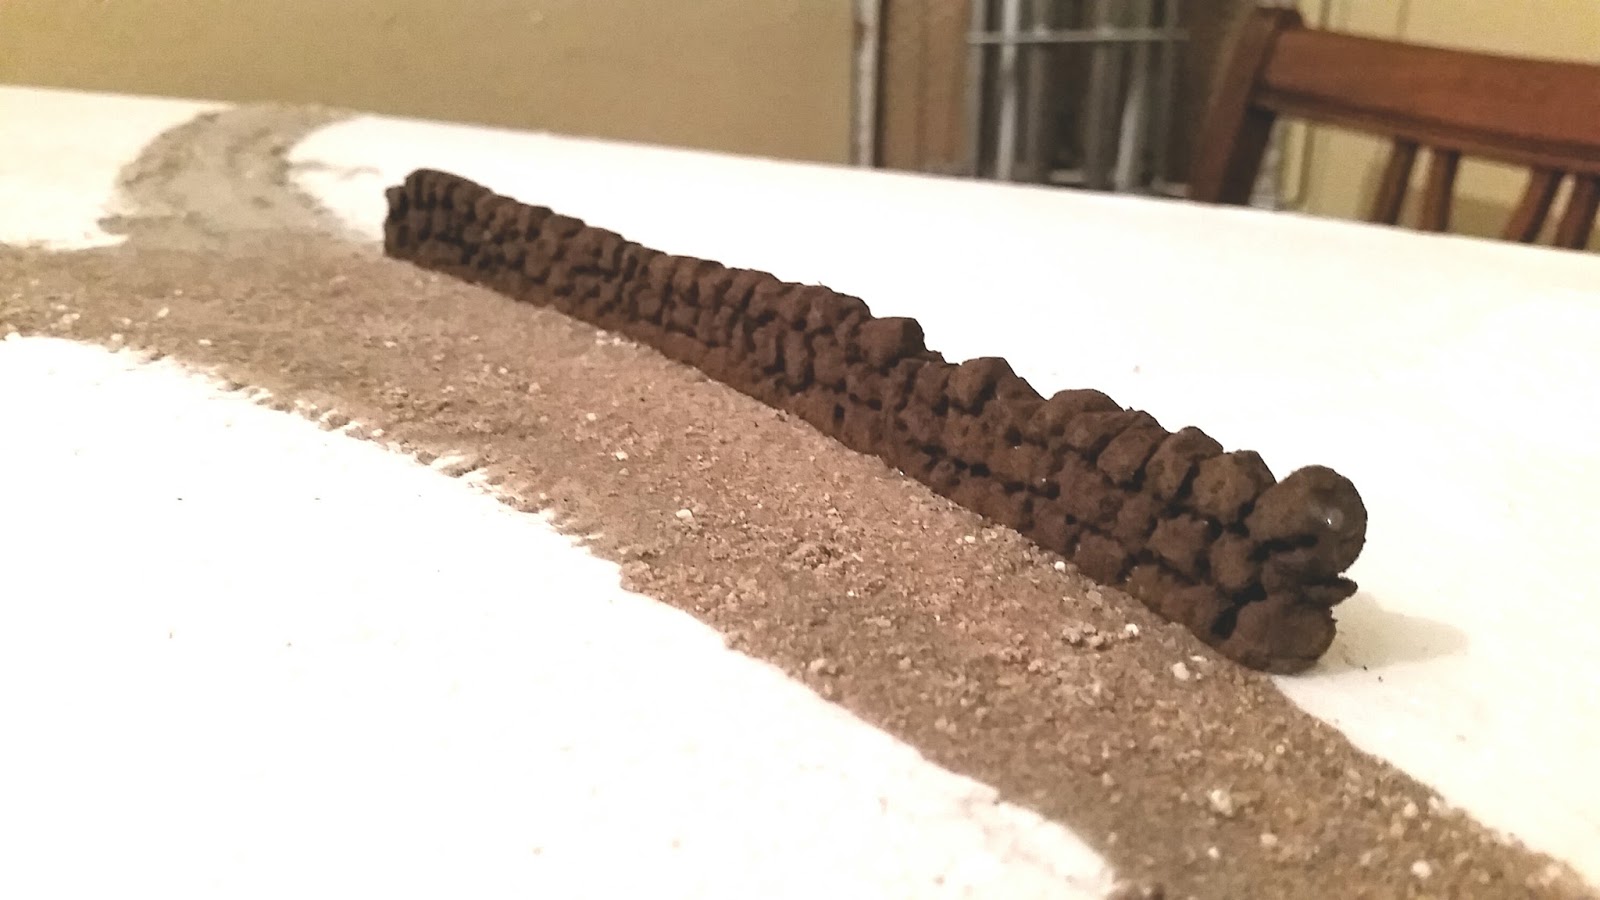
stage 4 use course sand and apply in patches were you want, and use larger sand/grit to add to areas to give a bit of interest, and there you have it nice and simple but effective. you can add trees or crops, wild grass to the board or attach your trees and grasses to separate bases so you can arrange them as you please.
next up a ford this will feature in the second battle most of the board was constructed the same way as the first broad the ford itself i made as follows.


stage 1 draw the ford and cut it out

stage 2 paint the ford with your medium tone base colour

fill the fords area with PVA but not to deep also put some PVA on the river banks use grit and large stones to form the rivers edges and the base of the ford. Apply green and blue paint to the river in streaks using the tip of a brush mix the paint with the PVA and leave to dry this will take about 3 to 4 days.

paint all the rivers banks and the exposed stones in the ford your medium base tone colour and highlight these areas with your light tone colour

a closer look at the ford

some Portuguese skirmishers dipping their toes as they cross the ford.
Next up some walls
for these i use Styrofoam this comes in may size sheets and colours really useful stuff for making wall building light weight and strong.

a length of wall and the tools i use

stage 1 lightly draw out your walls i use a permanent marker pen

stage 2 roughly cut out your wall

stage 3 draw around the stones of your wall both sides so they are more defined

stage 4 cut out the top of the wall to give the wall a more realistic look

the finished look


stage 5 painting dark tone colour first then dry brush medium colour base tone then highlight with your light tone again nice and easy but effective.
well that's it for now its back to the painting table for me i have a few more units to paint up for the next battle of my Peninsular project and a couple of buildings to.
till next time
No comments:
Post a Comment