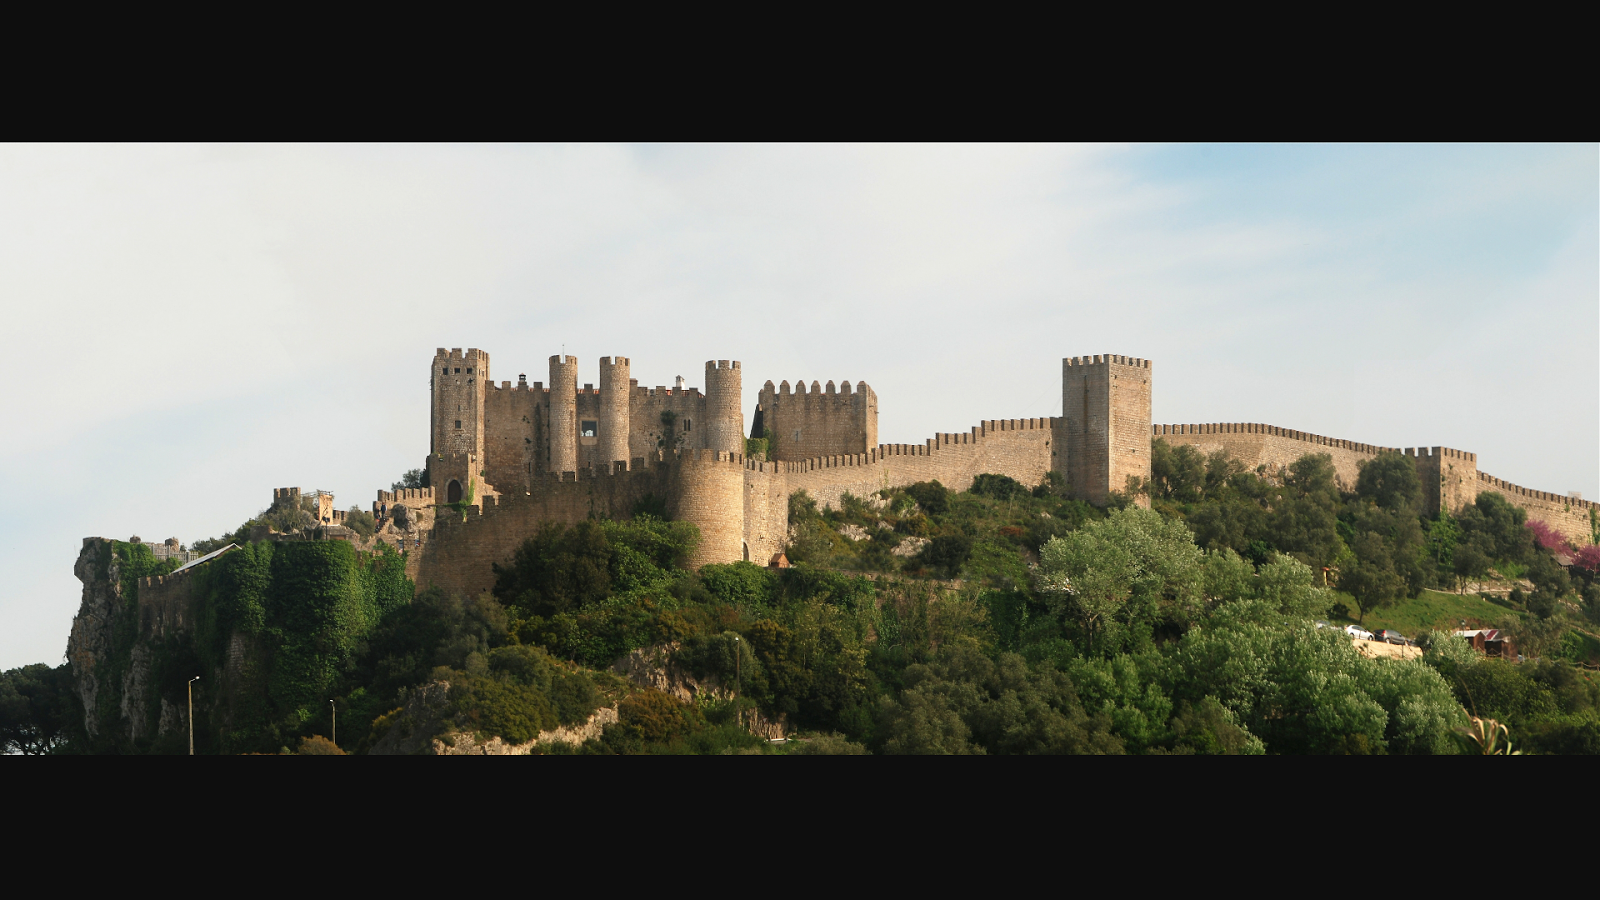
It been a while since the last post but i'm back with part 9 of the project, After the skirmishing around the village of Borilos, the French units withdrew in good order to the town of Obidos. The British followed closely, and after some shots being exchanged the skirmish came to a halt. With the French still holding the town as night fell.
In the morning the French units had withdrawn from Obidios and rejoined the rest of the French. Who were know on a hills surrounding the village of Rolica. Delaborde keeping an eye on the situation, knew that he was heavily outnumbered by the advancing British, but he still intended to follow his orders to slow their progress. He skillfully positioned his force on a hill west of Rolica. This position was a strong one, which would force the British to assault up a step hill giving him the advantage. He had also stationed skirmishers all along his front to harass the British assault. Delaborde also had a second position about 2 miles behind his first position, which was on top of a ridge line with the village of Columbeira to its west. Delabordes plan was to hold the British for as long as possible using these two positions to anchor his fighting withdraw. He also hoped that general Lision would come to his assistance during the day, so they could if possible go on the offensive.

map of the battle
Delaborde stationed on the hills above Rolica watched as the British centre columns advanced on this position. They advanced across the open ground with parade ground precision, with pockets of skirmishers moving forward. The dull thud of the British cannon sounded the start of the battle.
The French artillery soon opened fire on the advancing British, and the French skirmishers traded shots with British skirmishers, in the valley. Colonel Trant had reached a small village called Quinta Gruga on Delabordes left flank. At this point Delabode decided to withdraw to his second and stronger position on the ridge line above Columbeira, which he did behind a screen of skirmishers and cavalry.

A photo of Delabordes second position the village of Columbeira can be seen on the right. There were four ravines leading to the top of the ridge.
Wellesley was know forced to regroup his columns, and continue his pincer movement as before on Delabordes second position. This was going to be a hard assault as the approach to the ridge was more open but the ground was far more broken, with dry river beds, and the ridge itself could only be accessed via steep narrow ravines.

A photo of the narrow ravine that the 29th foot assaulted The photo doesn't show what a steep climb it was, but it dose show how much of an easy target the British must have been as they struggled up the ravine.
The scene is set for the next battle of the project. the re-fight will concentrate on the assaults made by the British to capture Delabordes second position the ridge line above the village of Columbeira.
The units involved:
The units involved:
The allies: under Arthur Wellesley
13'300 British
2'590 Portuguese
The British had six brigades of infantry and a small detachment of cavalry namely the 20th light dragoons.
The Portuguese contingant was made up of 3 battalions of infantry a small contigant of cavalry and around 500 Cazadores from Porto, and a artillery unit. The Portuguese were under the command of Lieutenant-colonel Trant.
The French: under the command of General Delaborde
Total around 4'400
It was made up of around 4,000 infantry under the command of Gen-Brigade Brenier. The cavalry was made up of 250 men of the 26th Chasseur Cheval. The French also had around 5 artillery guns.
Only around 6'000 British infantry were involved in the main assault on the French position, with around 4'000 making the main assault on the narrow tracks. These units are listed below, and will make up the forces of the British.
From General Nightingall's 3rd Brigade the 29th regiment of foot
From General Hill's 1st Brigade the 9th regiment of foot
From General Hill's 1st Brigade the 5th regiment of foot
From General Fane's 6th Brigade the 95th rifles regiment
For each of the above foot regiments i will be using 2 smaller bases each with 6 miniatures and i will also give each regiment 5 light infantry single bases to represent the regiments skirmisher company. The 95th will be made up of 12 single miniatures, these will give them a fighting chance of getting up those ravines.

The game starts with the French main body deployed on the southern ridge point B, having withdrawn to their second position. The British will start in column at point A. The battle will concentrate on the attacks made by the British centre column. The French are deployed at point B and have a limited time to to hold this position, as the flank columns under General Ferguson and Colonel Trant will appear at point E and F on turn 15 after which the French will start to withdraw from their position.
Victory Points for the French
After turn 10 the French will gain 1 VP for each turn that they still hold the ridge ( if the French are still on the table. )
For each British base routed/lost the French gain 1VP
Victory points for the British
The British will gain 5 VP if they manage to take the ridge from the French before turn 10.
For each French base routed/lost the British gain 1VP
The Swiss problem
When a British unit comes to within musket range of the Swiss (only one test) The Swiss must roll to see it they fight on or walk away Roll 1 D6 1,2,3 and they fight on. 4,5,6 and the call it a day and are removed from the battle.
The 29th and colonel Lake
The 29th battalion of foot will be the lead regiment as they where on the day once they have reached the foot of the ravine they must roll a test to see if they charge strait up the ravine or wait for the rest of the battalions.
Roll 1 D6 1,2,3,4 and the 29th charge the French. 5,6 and they wait for the rest.
Well that's the set up for the battle. This should prove to be an interesting battle with the British attacking the French who are holding a ridge line. till next time, and thanks for reading.
13'300 British
2'590 Portuguese
The British had six brigades of infantry and a small detachment of cavalry namely the 20th light dragoons.
The Portuguese contingant was made up of 3 battalions of infantry a small contigant of cavalry and around 500 Cazadores from Porto, and a artillery unit. The Portuguese were under the command of Lieutenant-colonel Trant.
The French: under the command of General Delaborde
Total around 4'400
It was made up of around 4,000 infantry under the command of Gen-Brigade Brenier. The cavalry was made up of 250 men of the 26th Chasseur Cheval. The French also had around 5 artillery guns.
Only around 6'000 British infantry were involved in the main assault on the French position, with around 4'000 making the main assault on the narrow tracks. These units are listed below, and will make up the forces of the British.
From General Nightingall's 3rd Brigade the 29th regiment of foot
From General Hill's 1st Brigade the 9th regiment of foot
From General Hill's 1st Brigade the 5th regiment of foot
From General Fane's 6th Brigade the 95th rifles regiment
For each of the above foot regiments i will be using 2 smaller bases each with 6 miniatures and i will also give each regiment 5 light infantry single bases to represent the regiments skirmisher company. The 95th will be made up of 12 single miniatures, these will give them a fighting chance of getting up those ravines.

Battle sketch of the battle of Rolica The 29th can be seen advancing up one of the narrow tracks, as the rest of the British units move into position.
Victory Points for the French
After turn 10 the French will gain 1 VP for each turn that they still hold the ridge ( if the French are still on the table. )
For each British base routed/lost the French gain 1VP
Victory points for the British
The British will gain 5 VP if they manage to take the ridge from the French before turn 10.
For each French base routed/lost the British gain 1VP
The Swiss problem
When a British unit comes to within musket range of the Swiss (only one test) The Swiss must roll to see it they fight on or walk away Roll 1 D6 1,2,3 and they fight on. 4,5,6 and the call it a day and are removed from the battle.
The 29th and colonel Lake
The 29th battalion of foot will be the lead regiment as they where on the day once they have reached the foot of the ravine they must roll a test to see if they charge strait up the ravine or wait for the rest of the battalions.
Roll 1 D6 1,2,3,4 and the 29th charge the French. 5,6 and they wait for the rest.
Well that's the set up for the battle. This should prove to be an interesting battle with the British attacking the French who are holding a ridge line. till next time, and thanks for reading.
No comments:
Post a Comment