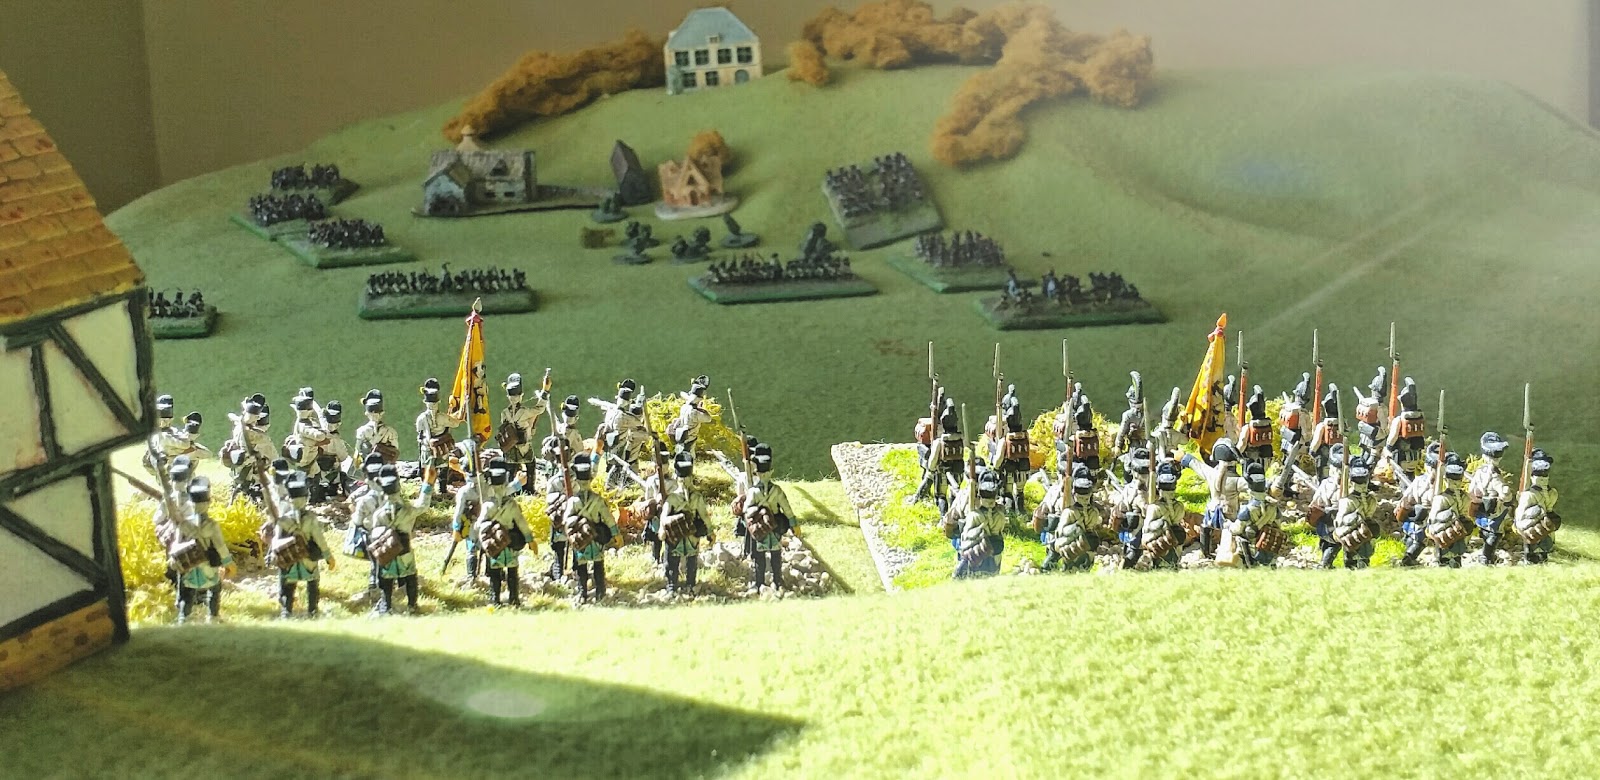
The 1st British Household cavalry Brigade.
Command by Major General Lord Edward Somerset
Strength at Waterloo 1,319
casualties at Waterloo 632


1st Dragoon Guards

Next up the rules I use for the small actions in the campaign feel free to play, change, add on, if you come up with anything new I would like to hear as these rules are a working set. They look better if you open the post on a pc or tablet. Enjoy
Light Infantryman 1790-1815
SOLO SKIRMISH RULES
Introduction
These rules are designed for small scale actions with each command having control of a number of companies or squadrons or up to a few full battalions/regiments.
Set up sequence
1. scenario-deployment
2. command- orders
Game turn sequence
1. dice for initiative
2. activation phase
3. shooting
4. movement phase
5.melee phase
6. results
1. INITATIVE
At the start on the game turn, both sides will attempt to gain the imitative. both will roll a D10. the higher scoring command will gain the initiative first.
each unit/figure has an activation rating the higher the number the quicker the unit/figure can be activated. 8 before 7 before 6 and so on.
the command with the initiative can activate any unit/figure of the same rating first.
the term unit means one on the battalion bases, and the term figure means s skirmish strip.
2.ACTIVATION
each unit/figure has an activation, morale, to hit rating given below.
CLASS ACTIVATION MORALE TO HIT
character 8 8 7
elite 7 8 7
veteran 7 7 6
average 6 6 5
conscript 5 5 4
raw 4 4 3
Each command base has an activation, morale rating given below.
CLASS ACTIVATION MORALE
charismatic 9 9
veteran 8 8
average 7 7
plodder 6 6
All command, units and figures must be activated in a strict sequence 9 through to 1.
units that are within their commanders command radius can attempt to use his activation rating.
COMMAND RADIUS
charismatic 20cm
veteran 15cm
average 10cm
plodder 0cm
roll 1 D10 the score must be equal to or less than the commanders current activation rating.
if the test is passed then the unit will activate on the commanders activation rating.
if the test is failed then the unit will activate at minus 2 on its current activation rating.
3.SHOOTING
First establish the range to target
this can be point blank range PBR
short range SR
long range LR
all units must fire at the closest visible target.
individual strips can choose their target.
Roll 1D10 the score must be equal to or less than the shooting units/figures current to hit rating.
RANGE IN CM
WEAPON PBR SR LR
musket 5 15 30
rifle 5 20 40
carbine 5 10 15
pistol 2 5
matchlock 5 10 15
bows 5 10 15
field guns 5 30 60
horse guns 5 30 40
MODIFIERS
+1 shooting at short range
+2 shooting at long range
+2 target behind soft cover
+4 target behind hard cover
+2 if shooting wounded
- 2 if shooting with rifle
if a hit is score see hit outcome for results
4,MOVEMENT
any activated individual figure skirmish strip can perform movement, climbing, traversing obstacles and entering buildings.
any activated unit can perform movement, traversing obstacles and deploy skirmishers.
all the above are preformed in the movement phase.
MOVEMENT IN CM
unit foot 10cm
unit cavalry 20cm (trotting)
individual foot &
skirmish strip 15cm
individual cavalry 25cm (trotting)
command foot 15cm
command cavalry 25cm
cannon cart DRAWN 15cm
cannon MANHANDLED 5cm
MOVEMENT MODIFIERS IN CM
-5 if foot/cavalry unit moving through rough terrain
-5 if foot/cavalry unit moving through stream of ford
+5 if all cavalry cantering
+10 if all cavalry charging
+5 if all foot charging
all cavalry must move from trot to canter to charge.
MELEE
all units figures must charge into melee. to do this a unit figure must first pass a morale test to charge home.
if the test is failed it will still charge towards the target, but will halt before contact is made. see failed charge
if the test is passed the unit/ figure will charge home and make contact. see charging home.
to test morale roll 1 D10 the score must be equal or less than the units figures current morale rating.
FAILED CHARGE
if the unit figure fails the morale test they will advance as below.
ROLL 1D6
1-2 moves 1cm and halts in order
3-4 moves 3cm and halts in order
5-6 moves 5cm and halts and is in disorder
CHARGING HOME
if the unit passes its morale test the target they are charging must know test their morale
ROLL 1D6
1-2 target stands firm
3-4 target retires before contact is made charging unit is not disordered
5-6 target breaks before contact is made move one full normal move away from the charging unit figure
if target breaks before contact is made the attackers can attempt to make contact.
ROLL 1 D6
1-2 attackers fail to reach their target move extra 5cm
3-4 attackers make contact but are disordered in doing so.
M A TH
#
5-6 the attackers make contact and destroy the fleeing enemy remove the base from play.
REINFORCING MELEES
if a unit figure wishes to reinforce a melee it must pass a morale test.
ROLL1D10 the score must be equal or less than the testers current morale rating.
-2 to score if reinforcing means you outnumber the enemy
+2 to score if reinforcing means you will be outnumbered by the enemy
follow the results as for charging morale test.
WHEN TWO OR MORE BASES MAKE CONTACT
ROLL 1 D10 for each base in contact damage is removed as it happens
see below for hit outcome.
as with shooting the score must be equal or less then the units figures current to hit rating.
MODIFIERS
-2 on dice if up slope of opponent
+3 on dice if fighting while wounded
+3 on dice if fighting an opponent who is defending a house, barricade.
HIT OUTCOME INDIVIDUAL OR SKIRMISH STRIP REMOVE POINT FROM
ROLL 1 D10
1-2 indicates the figure is incapacitated M A TH
no movement next turn # # #
3-4 indicates the figure is wounded M A TH
no movement next turn # #
5-6 indicates that the figure has been driven back M A TH
move figure one full move towards its unit # #
7-8 indicates that the figure has gone to ground M A TH
move figure one full move to nearest cover #
or if in cover no move next turn
9-10 indicates that the hit had no effect M A TH
# = one point removed from the indicated section on the figures card.
M= morale
A= activation
TH = to hit
HIT OUTCOME UNIT REMOVE POINT FROM
ROLL 1 D10
1-2 indicates the unit has taken heavy casualties M A TH
no movement next turn # # #
3-4 indicates the unit has taken casualties M A TH
no movement next turn # #
5-6 indicates that the unit has been driven back M A TH
move unit one full move towards the its rear edge # #
7-8 indicates that the unit is giving ground M A TH
move the unit 1/2 move to the rear #
9-10 indicates that the hit has had no effect M A TH
#= one point removed from the indicated section on the units card.
M= moral
A= activation
TH= to hit
RESULTS
if at the end of a turn unit figures
M = Morale
A = Activation
TH = To Hit
drops to zero the unit figure must follow the outcome below at the start of the next turn
INDIVIDUAL FIGURE SKIRMISH STRIP
Morale = figure must withdraw to its company. it must remain with its company for each turn it dose it will gain one morale point. to a maximum of 3 points
if no company remove the figure.
Activation= figure must withdraw to its company one full move each time it dose it will gain one activation point to a maximum of 3 points
if no company remove the figure.
To Hit= figure must withdraw to its company one full move each time it dose t will gain one to hit point to a maximum of 3 points.
if no company remove the figure.
UNITS
Morale = unit must withdraw from the battle line to their commands base edge. it must remain there for each turn it dose it will gain one morale point to a maximum of 3 points
if no means of withdraw then remove unit..
Activation =unit must withdraw to its commands base edge. one full move each time it dose, it will gain one activation point to a maximum of 3 points.
if no means of withdraw then remove the unit.
To Hit = unit must withdraw to its command base edge. one full move each time it dose, it will gain one to hit point to a maximum of 3 points.
if no means of withdraw then remove unit.

clear unit and skirmish strip cards just fill in the numbers given in the lists of the M= morale A= activation TH = to hit each time a point is deducted put a line through the number.
well that's it hope it all plays well,
next time more troops for the mini muster, and a battle report of a small action.
MELEE
all units figures must charge into melee. to do this a unit figure must first pass a morale test to charge home.
if the test is failed it will still charge towards the target, but will halt before contact is made. see failed charge
if the test is passed the unit/ figure will charge home and make contact. see charging home.
to test morale roll 1 D10 the score must be equal or less than the units figures current morale rating.
FAILED CHARGE
if the unit figure fails the morale test they will advance as below.
ROLL 1D6
1-2 moves 1cm and halts in order
3-4 moves 3cm and halts in order
5-6 moves 5cm and halts and is in disorder
CHARGING HOME
if the unit passes its morale test the target they are charging must know test their morale
ROLL 1D6
1-2 target stands firm
3-4 target retires before contact is made charging unit is not disordered
5-6 target breaks before contact is made move one full normal move away from the charging unit figure
if target breaks before contact is made the attackers can attempt to make contact.
ROLL 1 D6
1-2 attackers fail to reach their target move extra 5cm
3-4 attackers make contact but are disordered in doing so.
M A TH
#
5-6 the attackers make contact and destroy the fleeing enemy remove the base from play.
REINFORCING MELEES
if a unit figure wishes to reinforce a melee it must pass a morale test.
ROLL1D10 the score must be equal or less than the testers current morale rating.
-2 to score if reinforcing means you outnumber the enemy
+2 to score if reinforcing means you will be outnumbered by the enemy
follow the results as for charging morale test.
WHEN TWO OR MORE BASES MAKE CONTACT
ROLL 1 D10 for each base in contact damage is removed as it happens
see below for hit outcome.
as with shooting the score must be equal or less then the units figures current to hit rating.
MODIFIERS
-2 on dice if up slope of opponent
+3 on dice if fighting while wounded
+3 on dice if fighting an opponent who is defending a house, barricade.
HIT OUTCOME INDIVIDUAL OR SKIRMISH STRIP REMOVE POINT FROM
ROLL 1 D10
1-2 indicates the figure is incapacitated M A TH
no movement next turn # # #
3-4 indicates the figure is wounded M A TH
no movement next turn # #
5-6 indicates that the figure has been driven back M A TH
move figure one full move towards its unit # #
7-8 indicates that the figure has gone to ground M A TH
move figure one full move to nearest cover #
or if in cover no move next turn
9-10 indicates that the hit had no effect M A TH
# = one point removed from the indicated section on the figures card.
M= morale
A= activation
TH = to hit
HIT OUTCOME UNIT REMOVE POINT FROM
ROLL 1 D10
1-2 indicates the unit has taken heavy casualties M A TH
no movement next turn # # #
3-4 indicates the unit has taken casualties M A TH
no movement next turn # #
5-6 indicates that the unit has been driven back M A TH
move unit one full move towards the its rear edge # #
7-8 indicates that the unit is giving ground M A TH
move the unit 1/2 move to the rear #
9-10 indicates that the hit has had no effect M A TH
#= one point removed from the indicated section on the units card.
M= moral
A= activation
TH= to hit
RESULTS
if at the end of a turn unit figures
M = Morale
A = Activation
TH = To Hit
drops to zero the unit figure must follow the outcome below at the start of the next turn
INDIVIDUAL FIGURE SKIRMISH STRIP
Morale = figure must withdraw to its company. it must remain with its company for each turn it dose it will gain one morale point. to a maximum of 3 points
if no company remove the figure.
Activation= figure must withdraw to its company one full move each time it dose it will gain one activation point to a maximum of 3 points
if no company remove the figure.
To Hit= figure must withdraw to its company one full move each time it dose t will gain one to hit point to a maximum of 3 points.
if no company remove the figure.
UNITS
Morale = unit must withdraw from the battle line to their commands base edge. it must remain there for each turn it dose it will gain one morale point to a maximum of 3 points
if no means of withdraw then remove unit..
Activation =unit must withdraw to its commands base edge. one full move each time it dose, it will gain one activation point to a maximum of 3 points.
if no means of withdraw then remove the unit.
To Hit = unit must withdraw to its command base edge. one full move each time it dose, it will gain one to hit point to a maximum of 3 points.
if no means of withdraw then remove unit.
clear unit and skirmish strip cards just fill in the numbers given in the lists of the M= morale A= activation TH = to hit each time a point is deducted put a line through the number.
well that's it hope it all plays well,
next time more troops for the mini muster, and a battle report of a small action.